


CS told me she might want to use the trunk as a coffee table if it was black and looked a little nicer. Initially, I was skeptical of my ability to improve this trunk very much. The body of the trunk was made of a thin wood that had a lot of warping and cracking, so sanding the paint off was not an option. The metal trim was painted over with white in some areas and covered with a metallic paint everywhere else. I knew it was unlikely that I would be able to restore the original metal and may be faced with having to cover it in yet another coat of paint. I assured CS I would do the best I could to provide the highest quality improvement possible while retaining the vintage nature of the piece.
I started by using a Mr. Clean Magic Eraser to clean the exterior of the trunk, which was pretty grimy. (Aside: I can't say enough about how amazing this product is! I've been using Magic Erasers for years to clean our sinks and bathtubs, but it really hit me how incredible they are when I used one to clean a vintage white leather Dooney & Bourke handbag that I picked up for $5 at a yard sale. Seriously awesome!) Once the trunk was clean, I did try to sand the white paint off of the metal trim, but all I found underneath was rust. I knew that sanding the metalwork was out of the question and so was using any sort of solvent to remove the paint. That left me with just one option -- repaint the metal trim.
Once the trunk was clean, I had to do a lot of thinking about how to tackle painting it. I considered using a metallic spray paint to cover the trim, then painting the black by hand. I also considered spray-painting the trunk black, then using a metallic paint to refinish the trim by hand. Ultimately, I decided spray paint wasn't gonna cut it, so I painted it all by hand.
I spent about $15 on Magic Erasers, black paint, a large paintbrush, bronze metallic paint, and tiny trim brushes. I started by using the large brush to paint the white wood surface black, getting as close in to the metal trim as I could. Then I used a dry-brushing technique to apply the metallic paint to the trim. It was tedious work, but I knew it was essential to provide the vintage finish I was aiming for. I followed up with a second coat of black paint, using the tiny trim brushes to get into the nooks and crannies where the wood and metal met. I couldn't believe the difference!
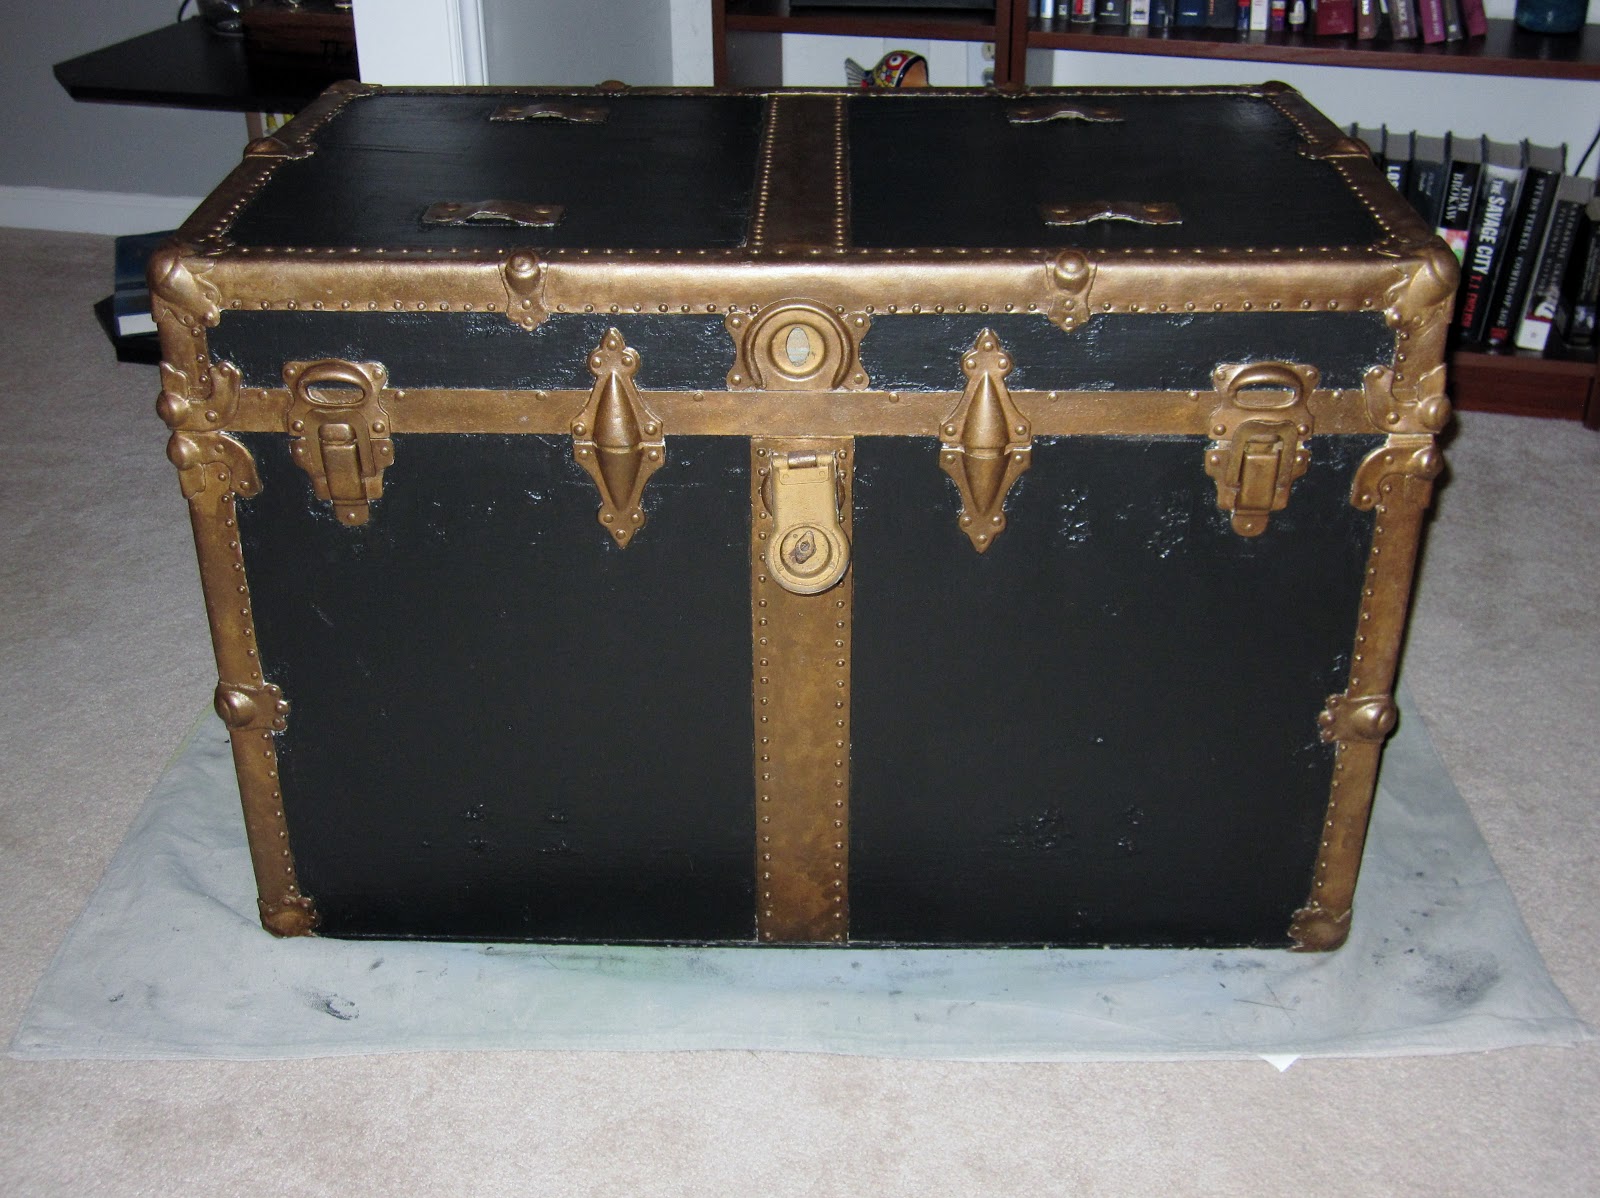


Seriously, is this the same trunk?!
My favorite part of this project was when I put the finished trunk in the back of my car to deliver it to CS and I made a stop at the Starbucks drive-through. The girl working the window told me my total and then exclaimed, "Where did you get that treasure chest?!" It turns out her nephew is really into pirates and she'd been looking for a trunk that could pass as a treasure chest for him for Christmas. Maybe I should get some business cards...
No comments:
Post a Comment